In this guide
- 01What is ice and water shield?
- 02Ice and water shield vs underlayment: what each layer does
- 03Where the self-adhered membrane goes on a roof
- 04How far up should ice and water shield go?
- 05Why Chinook freeze-thaw and ice dams make it critical in Airdrie
- 06Ice and water shield installation: how it goes on
- 07Types and common brands of ice and water membrane
- 08How much does ice and water shield cost?
- 09What happens when a cheap reroof skips it
- 10Checking what is under your shingles
What is ice and water shield?
Ice and water shield is a self-adhered membrane, usually a sheet of rubberised (SBS-modified) asphalt on a polyethylene or granular top surface with a peel-off release film on the back. You peel the film, press the sheet onto the roof deck, and it sticks. When a nail is driven through it, the rubberised asphalt closes around the shank, so the membrane stays watertight at every fastener.
The name comes from the original Grace product, Ice & Water Shield, which has become the generic term the way Kleenex did. Roofers also call it ice and water membrane, peel-and-stick, self-adhered membrane, SAM or eave protection. Whatever the name on the quote, it is the same idea: a sticky, self-sealing waterproof layer in the places where water is most likely to get under the shingles.
It is not the same as regular underlayment, and the difference matters. Underlayment is a water-resistant sheet that keeps the deck dry and backs up the shingles. the self-adhered membrane is waterproof, bonded to the deck, and designed to hold standing water and backed-up meltwater that no shingle or felt can stop.
Ice and water shield vs underlayment: what each layer does
A shingle roof sheds water by gravity. Each course overlaps the one below, so water running downhill never meets an upward-facing edge. That works until something makes water run uphill or sit still: an ice dam at the eave, wind pushing rain up the slope, a valley carrying the runoff from two roof planes, or a low-slope section where water crawls.
the membrane vs underlayment is really a question of which of those conditions you are protecting against. Regular underlayment, whether felt or synthetic, handles the general case of a little wind-blown moisture and a few weeks of exposure between tear-off and shingling. It is loose-laid and nailed or capped in place, so a nail hole is a nail hole. Our guide to roof underlayment types compares felt and synthetic in detail.
Ice and water shield handles the specific case of water under pressure or standing water. It is used in the high-risk zones, with underlayment covering the rest of the deck. On low-slope roofs and some high-exposure designs, crews cover the whole deck in membrane, and that is a legitimate upgrade rather than overkill.
Where the self-adhered membrane goes on a roof
Manufacturers and good practice agree on the high-risk zones. On an Airdrie home, expect a proper reroof to put self-adhered membrane in all of the following places.
- Eaves: From the drip edge up the slope, past the point where the exterior wall meets the roof, so any ice dam that forms at the cold overhang is fully covered.
- Valleys: A full-width strip, typically 900 mm (36 in), centred on every valley, because valleys carry the most water and see the most ice.
- Penetrations: A square of membrane around every plumbing stack, vent, and skylight curb, and a full wrap up the sides of skylights and chimneys under the flashing.
- Wall intersections: Where a lower roof meets a sidewall or a dormer, under the step flashing.
- Low-slope sections: Any area below roughly 4:12 pitch, where shingles are marginal and water moves slowly, often covered fully.
- Rakes on exposed sites: Not always required, but common on windy corners and prairie-facing gables where rain is driven up the edge.
The eave membrane goes on over the drip edge, and the rake drip edge goes on over the underlayment. Our post on drip edge explained covers that sequence and why getting it backwards lets water behind the metal.
How far up should ice and water shield go?
The common rule, and the one written into most building codes and manufacturer instructions, is that eave protection must extend from the edge of the roof to a line at least 900 mm (36 in) up the slope from the inside face of the exterior wall, measured horizontally. In practice that is the warm wall line plus 900 mm, which on a typical Airdrie home with a 600 mm overhang and a 6:12 pitch means two courses of 36 inch membrane rather than one.
That requirement is commonly required in Alberta, but the exact wording, the exceptions for certain slopes and eave designs, and how the local inspector interprets it can vary, so confirm locally. The 900 mm figure is a minimum in any case. On a low-pitch roof, a deep overhang, or a north-facing eave in a neighbourhood like Hillcrest or Ravenswood where ice dams recur, going further up the slope costs little and buys a lot.
A quick way to check a quote: ask how many rows of membrane go on at the eaves. If the answer is one row on a two-storey with a normal overhang, the membrane may not reach the warm wall line, and that is where the ice dam forms. If the answer is two rows or full coverage to the required line, you are in good hands.
Why Chinook freeze-thaw and ice dams make it critical in Airdrie
Ice dams form when heat escaping from the attic melts the underside of the snow on the roof, the meltwater runs down to the cold overhang past the warm wall, and it refreezes there. Each cycle adds to the ridge of ice, and the water behind it pools and backs up under the shingles. In a mild climate that happens a few times a winter. In Airdrie, a Chinook can swing the temperature from minus 20 to plus 10 in a day and back again, and the cycle repeats over and over from November to March.
Add the heavy snow loads of a prairie winter and the deep snow that drifts against a north eave, and you have ice dams on roofs that would never see them elsewhere. Shingles cannot stop water that is pushed uphill and held there by ice. Only a membrane bonded to the deck can. That is why the membrane is not a premium add-on here; it is the layer that determines whether a winter leak reaches the ceiling.
The membrane is a backstop, not a cure. The real fix for ice dams is a well-sealed ceiling, adequate insulation and balanced attic ventilation, which our guide to preventing ice dams in Airdrie covers in detail. The membrane is there for the winters when the dam forms anyway.
Ice and water shield installation: how it goes on
the self-adhered membrane installation is simple in principle and fussy in practice. The deck has to be clean, dry and free of loose debris or the membrane will not bond. Temperature matters: most products want the deck above roughly 5 degrees Celsius to stick reliably, and some winter-grade products go lower with a primer. Our post on roof replacement in winter in Alberta explains how crews manage that.
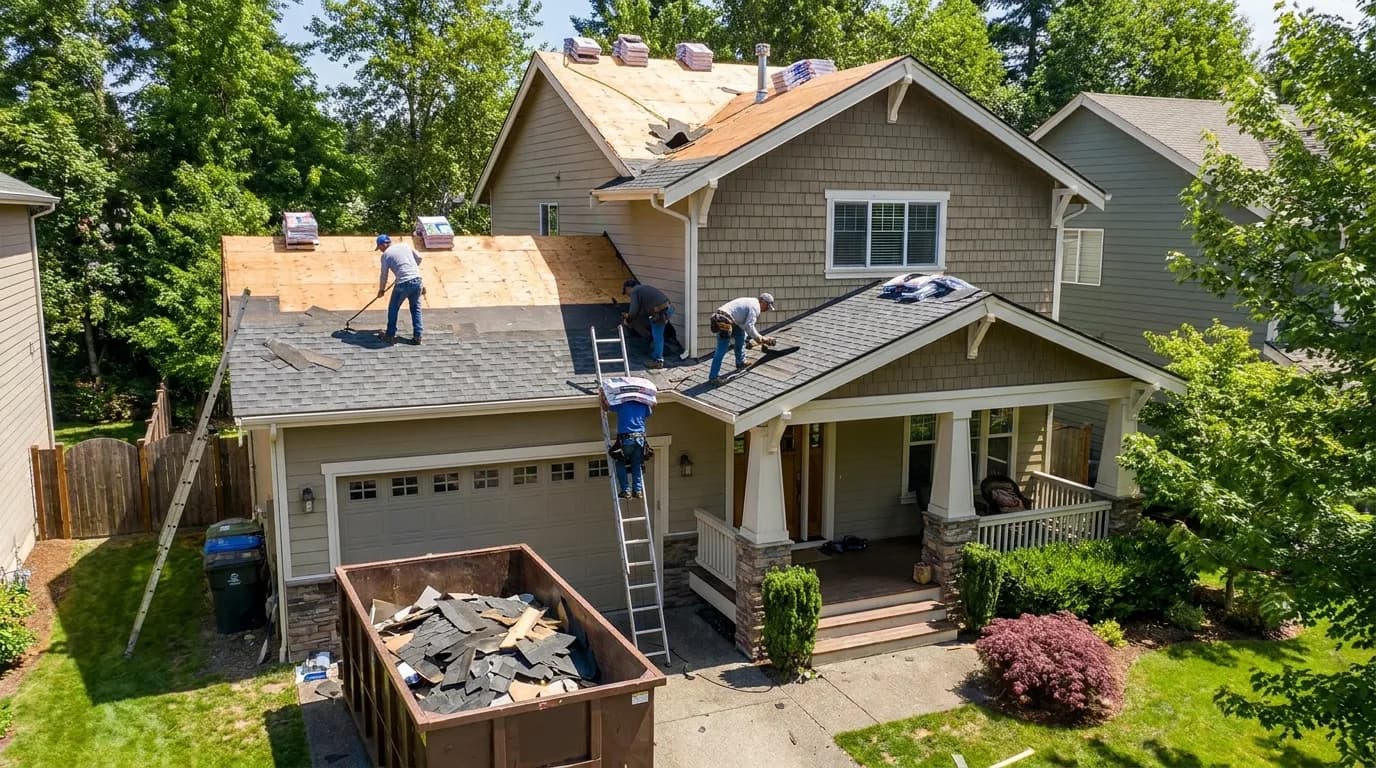
The eave course goes on first, over the drip edge, aligned so the bottom edge sits flush with the outer edge of the metal. The crew peels the release film in stages, pressing the sheet from the centre outward to avoid wrinkles and trapped air. A second course laps the first by at least 75 mm (3 in) and end laps run 150 mm (6 in). Valleys get their strip before the eave courses on the adjoining slopes overlap into them, so water always flows onto membrane, not into an edge.
Around penetrations, the membrane is cut to fit tightly to the pipe or curb, and the flashing goes on over it. Once the membrane is down, regular underlayment laps over its upper edge, and shingling begins. A good crew does not leave self-adhered membrane exposed for long, because the smooth-film types get slippery and the granular types shed granules in the sun.
Types and common brands of ice and water membrane
Most products fall into three groups. Granular-surfaced membranes have a sand or mineral top that is safe to walk on and can be left exposed a little longer. Smooth or film-surfaced membranes are thinner, cheaper and slippery, and are the standard eave product on most reroofs. High-temperature membranes use a different adhesive that does not slump or bleed under metal roofing and in hot valleys, and they are the correct choice under a metal roof.
| Type | Surface | Best for | Notes |
|---|---|---|---|
| Standard smooth film | Polyethylene film | Eaves and valleys under asphalt shingles | Most common; slippery when wet; cover promptly |
| Granular | Mineral granules | Eaves, valleys, low-slope areas, full-deck coverage | Walkable; can be left exposed longer; thicker |
| High-temperature | Film or fabric | Under metal roofing, dark roofs, hot valleys | Adhesive rated for roughly 115 degrees Celsius and above; required by most metal warranties |
| Winter-grade or low-temp | Film or granular | Cold-weather installs | Bonds at lower deck temperatures, often with primer |
Common brands include IKO (made in Canada, including its ArmourGard and GoldShield lines), GAF WeatherWatch and StormGuard, Grace Ice & Water Shield, Resisto (a Canadian Soprema brand), Owens Corning WeatherLock, and CertainTeed WinterGuard. Product names and specifications change, so check the current data sheet for whatever your roofer proposes. For most homes, the brand matters far less than using enough of it in the right places.
How much does ice and water shield cost?
the membrane is more expensive than felt or synthetic underlayment per square foot, which is exactly why a low bid tends to use less of it. The figures below are rough Alberta market guides as of 2026, not quotes. Rolls are typically 36 inches wide and cover about two squares (200 square feet).
| Item | Rough guide (CAD, 2026) | Notes |
|---|---|---|
| Standard smooth membrane, per roll (2 squares) | $90 to $160 | Most common eave and valley product |
| Granular or premium membrane, per roll | $120 to $220 | Walkable; thicker |
| High-temperature membrane, per roll | $150 to $300 | Required under most metal roofs |
| Installed as part of a reroof, per square foot of membrane | $1.00 to $2.50 | Includes labour; deck already open |
| Typical Airdrie two-storey, eaves and valleys only (300 to 700 sq ft) | $400 to $1,500 | Two rows at eaves plus valley strips |
| Full-deck coverage, typical home | $2,000 to $5,000 or more | Low-slope, high-exposure or premium installs |
On a full reroof that already costs $10,000 to $16,000 for a typical two-storey, the difference between a single row of membrane and doing it properly is usually a few hundred dollars. It is one of the easiest places for a low bid to save money and one of the worst places to save it. Get a free on-site quote for an exact figure, and ask for the membrane coverage to be written on it. Our roof replacement cost guide for Airdrie shows where the rest of the money goes.
What happens when a cheap reroof skips it
A roof with no the self-adhered membrane, or with a single short row that stops before the warm wall line, looks identical from the street to a roof with full eave protection. For the first few mild winters it may perform identically too. Then a heavy snow year with a series of Chinooks produces a proper ice dam, meltwater backs up under the second or third course, and it finds the nail holes in the underlayment.
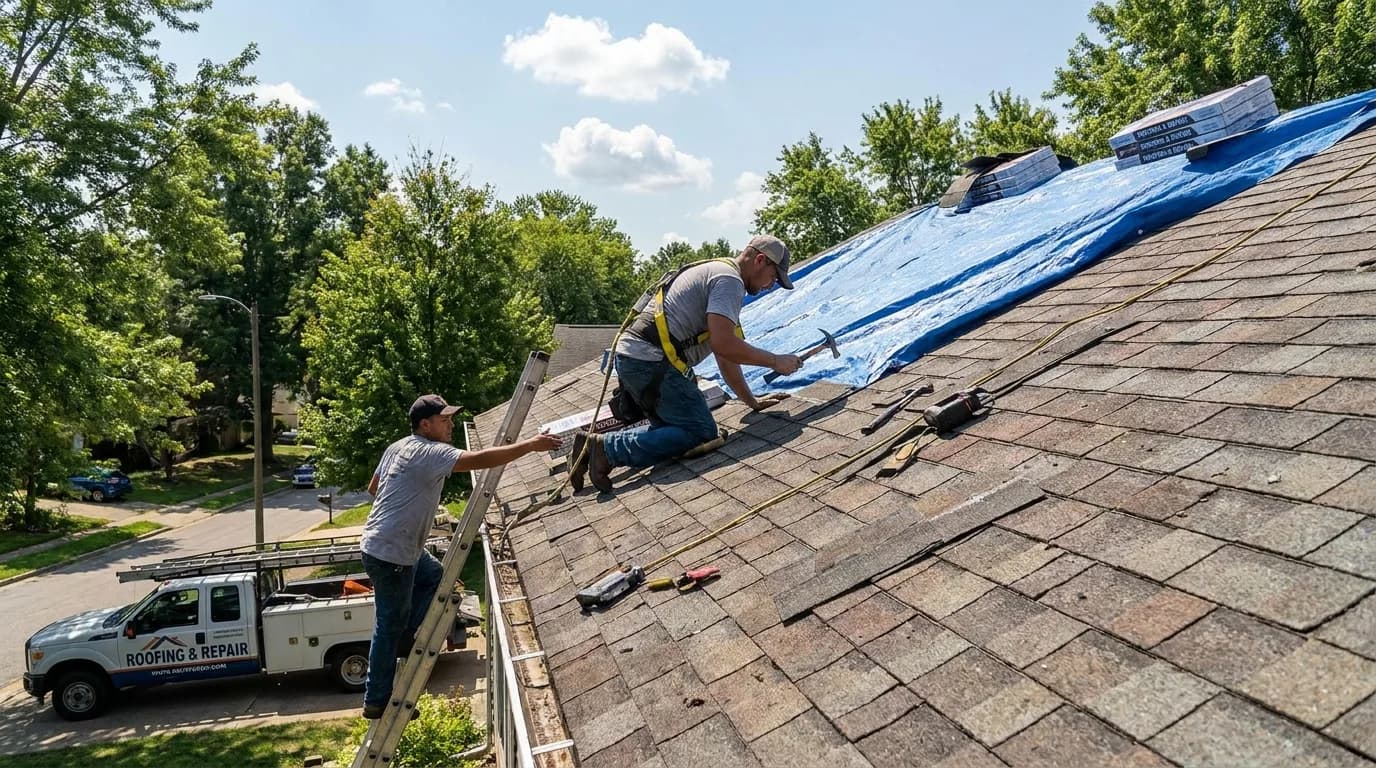
The first sign is usually a stain on the ceiling near an exterior wall, or water running down inside a wall and showing up at a window frame. Because the membrane is under the shingles, fixing it means stripping the eaves back to the deck, and on an older roof that often turns into a full replacement years earlier than planned. Rotted deck edges, wet insulation and mould in the eave bays are the follow-on costs.
Insurance is not a reliable backstop here. Damage from ice dams is treated differently by different policies, and a denied claim on a roof installed without the required membrane is not unusual. Confirm with your insurer or broker how your policy treats ice damming, and treat the membrane as the thing that keeps you from finding out.
Checking what is under your shingles
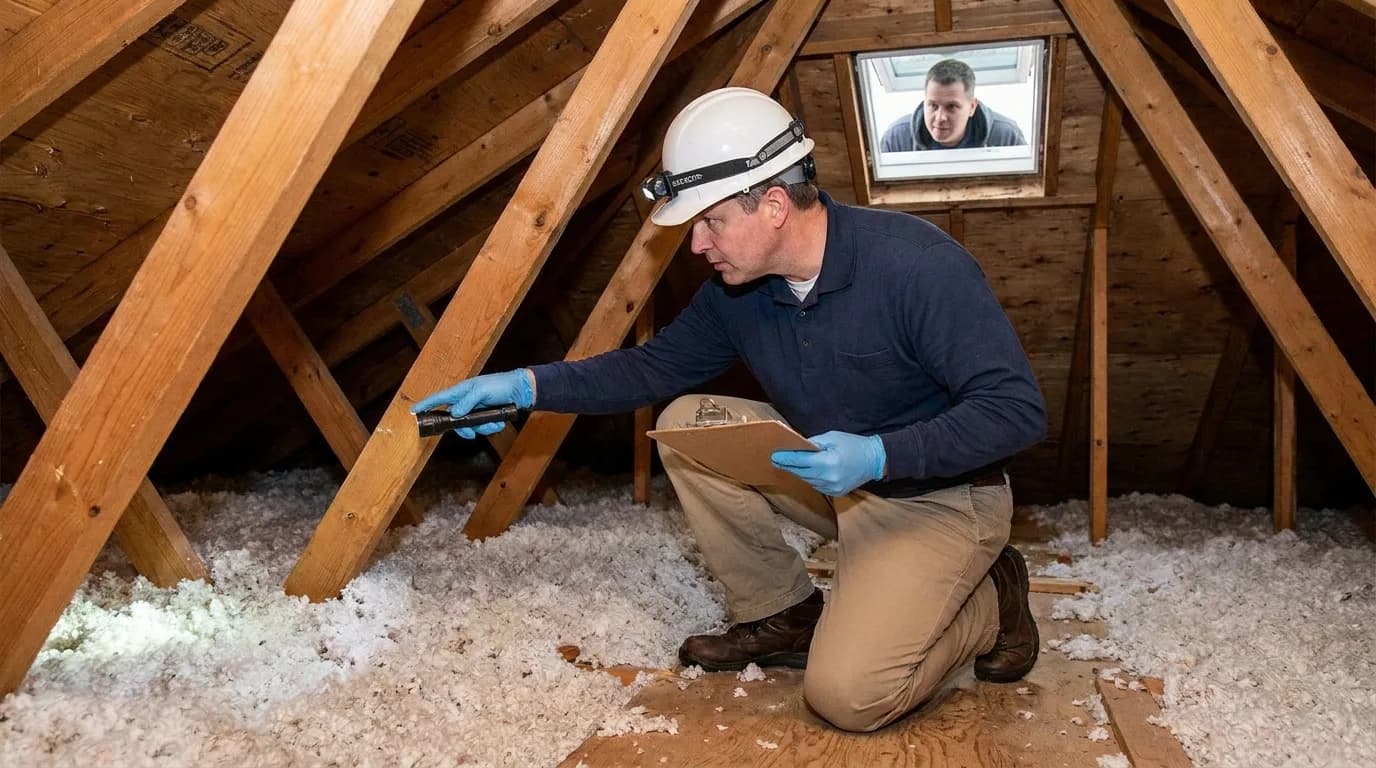
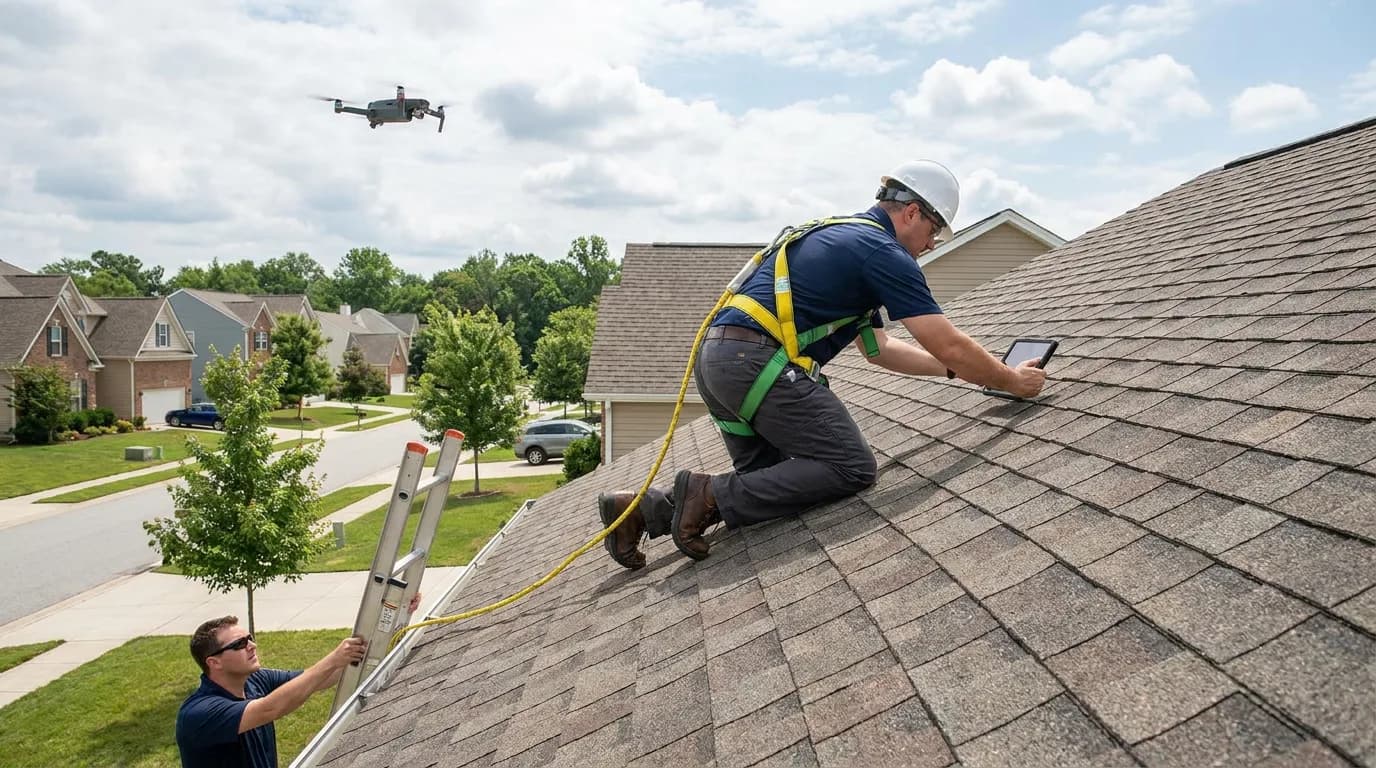
If your roof was replaced recently and you have the invoice, look for ice and water shield, eave protection or self-adhered membrane as a line item with a coverage description. If the invoice is silent, the membrane may still be there, but you are relying on the crew's habits rather than the paperwork. A roofer can often confirm by lifting the first course at the eave and looking for the sheet.
If you are planning a roof replacement in Airdrie, the membrane, the drip edge and the underlayment are the layers to ask about before you compare shingle brands. Our pillar guide to the best shingles for Alberta's climate explains why the accessories decide how long any shingle lasts. And if you have had a winter leak, our roof repair service in Airdrie can open up the eave, find out what is there and fix it properly.
Apex Roofing Airdrie installs the membrane at every eave to at least the required line, in every valley and around every penetration, and lists the coverage on the itemised written quote. Book a free, no-obligation on-site estimate if you want to know what your current roof has and what a proper reroof would include.
Written by the Apex Roofing Airdrie crew
Practical guidance from the local roofers who inspect, repair and replace roofs across Airdrie and Rocky View County every season. We review our guides against current Alberta practice and update them when materials, code or insurer behaviour changes. About our team.