In this guide
- 01When a roof tarp is worth putting up, and when it is not
- 02Safety first: the conditions under which you do not go up
- 03What you need for an emergency roof tarp that survives Alberta wind
- 04How to tarp a roof step by step without creating new leaks
- 05Mistakes that turn a temporary roof repair into a bigger claim
- 06What your insurer expects: the duty to mitigate
- 07How long a roof tarp lasts in Alberta wind and UV
- 08Roof tarping cost: doing it yourself versus hiring a crew
- 09Next steps: inspection, claim and permanent repair
When a roof tarp is worth putting up, and when it is not
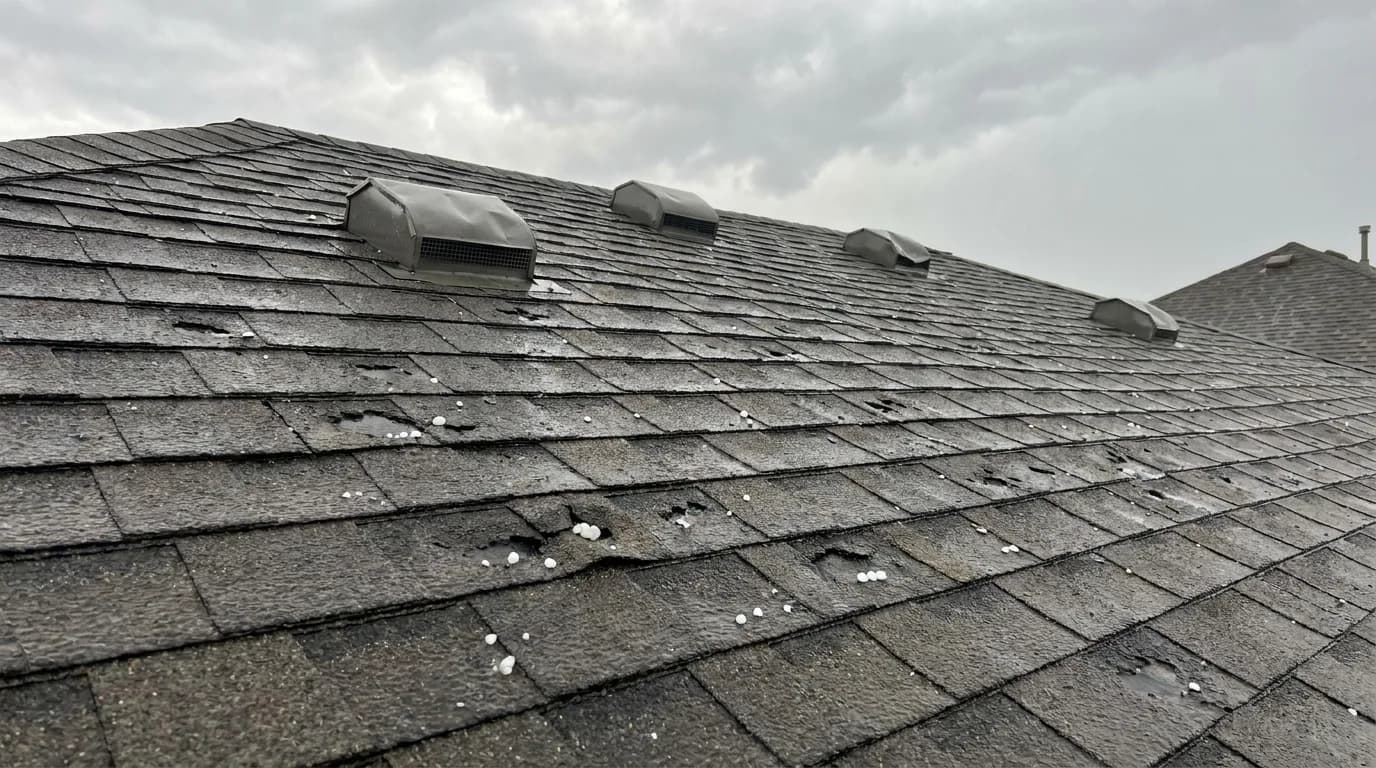
A roof tarp earns its keep in one situation: water is getting into the house, or will with the next rain, and a permanent repair cannot happen for days. Hail that has punched through aged shingles, a Chinook that has peeled a section back to the deck, a tree limb through the sheathing, or a whole slope stripped by a downburst are all tarp jobs. So is a roof that has been opened up mid-repair when weather moves in.
A tarp is not the answer to a few lifted tabs on a dry forecast, to granule loss from hail, or to a slow leak that has been there since spring. Those are repair calls, and a tarp adds risk and cost without changing the outcome. It is also not the answer if the damage is on a steep, high or icy slope and you are not equipped to be there; that is when you call for emergency roof repair in Airdrie and let a crew with harnesses do it.
The August 8, 2026 storm that tracked down the Crossfield–Airdrie corridor with quarter-sized hail and damaging wind put a lot of blue plastic on roofs in northwest Airdrie. Some of it was necessary. Some of it created leaks that were not there before. The difference is almost entirely in how the tarp was anchored, which is what this guide is about.
Safety first: the conditions under which you do not go up
More people are hurt after storms falling off roofs and ladders than are hurt by the storms. A wet asphalt roof loses most of its grip, a metal roof loses all of it, and hail leaves loose granules that roll underfoot like ball bearings. Wind that is strong enough to have damaged the roof is strong enough to turn a 20-foot tarp into a sail with you attached to it.
- Never in wind: if gusts are over about 30 km/h, or if the storm is still passing, wait. A partly deployed tarp in a gust will pull you off the slope.
- Never wet or icy: wait for the deck to dry; in winter, do not attempt it at all without a pro.
- Never after dark: headlamps do not show the soft spot in the sheathing where the hail came through.
- Never alone: one person on the roof, one footing the ladder and passing materials, both with phones.
- Never on a steep or high roof: anything over about 6/12 pitch or above a single storey is professional territory unless you own and know how to use a harness and roof anchor.
- Never near power lines: a tarp or a ladder touching a service drop is fatal.
If any of those apply, move the water management inside: buckets, a slit in a bulging ceiling to drain it into a container, plastic over furniture, and a call to a roofer. The damage to drywall is covered by the same claim; a fall is not.
What you need for an emergency roof tarp that survives Alberta wind
The standard hardware-store blue tarp works, but the thin ones shred in a day of prairie wind. Buy the heaviest polyethylene tarp you can find, ideally 10 mil or more with reinforced grommets, sized to cover the damage with at least 1.2 m (4 ft) to spare on every side and enough length to go over the ridge and down the other slope by a metre.
- Heavy poly tarp, 10–16 mil, brown or silver UV-rated if available, big enough to reach over the ridge.
- 2x4 boards, 8 ft, four to eight of them, to sandwich the tarp edges.
- Cap nails or exterior screws (2.5–3 in) to fasten the boards through the tarp into the roof deck; screws hold better in wind and are easier to remove.
- Utility knife, tape measure, hammer or impact driver.
- Roofing cement or butyl tape for sealing around any fastener you had to put through a bad spot.
- Ladder tied off at the top, soft-soled shoes, gloves, and a harness with a temporary ridge anchor if you have one.
Skip the bricks, sandbags and loose plywood sheets that turn up in photos after every storm. Loose weights slide off in a gust and become projectiles, and they do nothing to stop wind from lifting the tarp edge and pumping water underneath. A roof tarp works because its edges are held down along their full length, not because something heavy is sitting in the middle.
How to tarp a roof step by step without creating new leaks
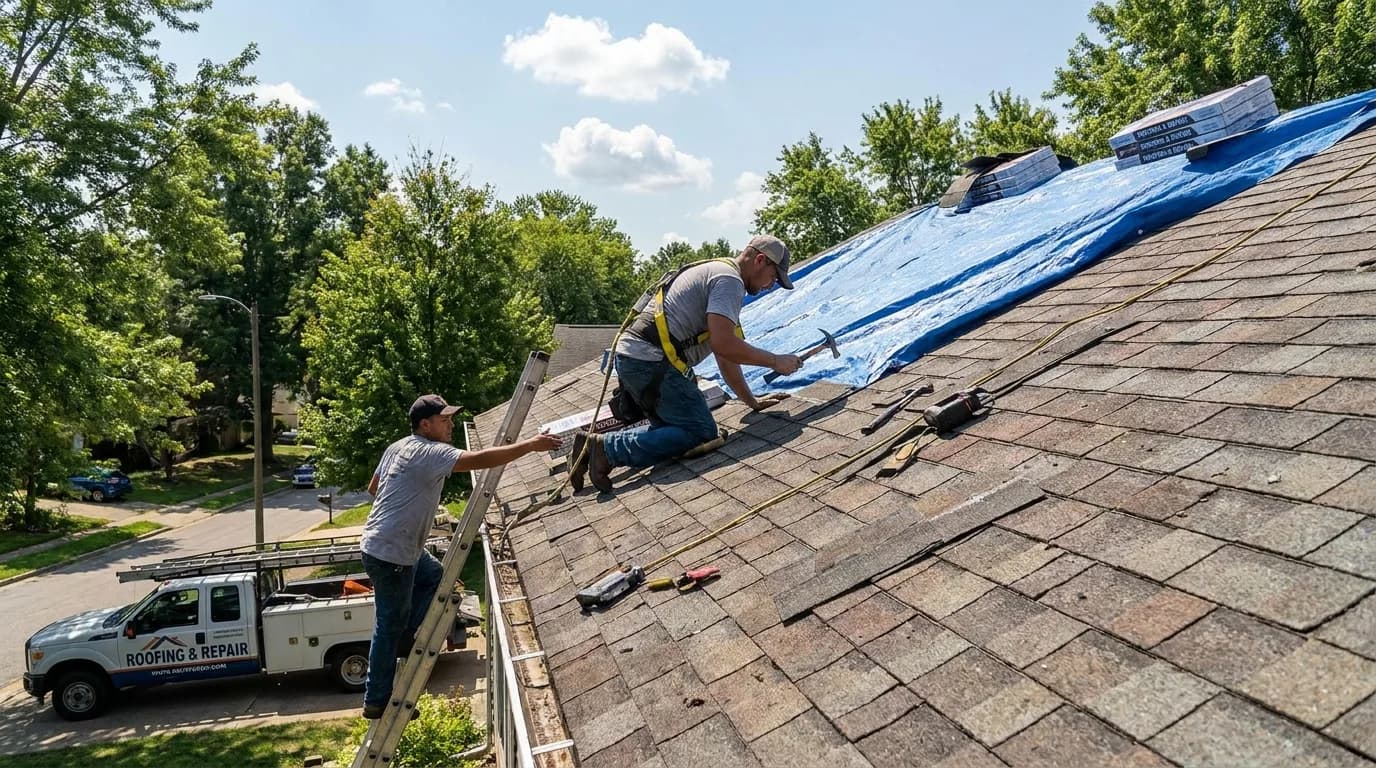
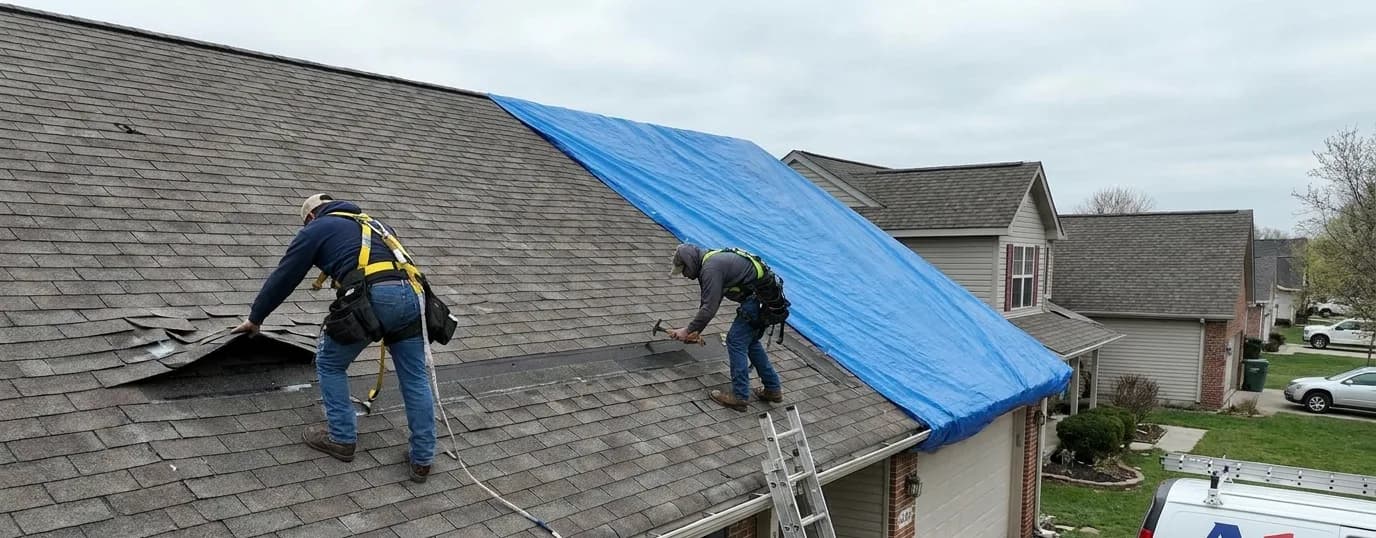
The whole roof tarp method comes down to three ideas: cover the damage with the tarp running downhill so water sheds off it, carry the top edge over the ridge so wind cannot get under it, and hold the edges down with boards rather than nails through the open sheet.
- 1. Photograph everything first, wide and close, before anything is covered. Your adjuster needs to see the damage, not the tarp.
- 2. Clear the area of broken shingles, branches and loose granules so the tarp lies flat.
- 3. Unroll the tarp from the eave upward, positioned so it extends at least 1.2 m past the damage on each side and its top edge crosses the ridge and drops down the far slope.
- 4. Anchor the top edge first. On the far slope, wrap the top edge of the tarp around a 2x4 once or twice, then screw the board through the tarp into the deck. The wrap stops the tarp tearing at the fastener.
- 5. Pull the tarp tight down the damaged slope and anchor the bottom edge the same way, ideally with the board sitting a little above the eave so water runs off the tarp and into the eavestrough rather than pooling behind the board.
- 6. Anchor both sides with boards running up the slope, wrapping the edge once, keeping the tarp taut with no wrinkles that can hold water or catch wind.
- 7. Do not put fasteners through the field of the tarp. Every hole in the middle of the sheet is a leak the moment water sits there.
- 8. Check from the ground that no edge is loose and no part of the tarp is lower than the damage it is covering.
If the tarp cannot go over the ridge, for example on a long slope or a hip, run the top edge under a course of intact shingles and anchor a board above it, then seal the board's fasteners with roofing cement. It is second best, and it is the point where most homeowners are better off calling for professional roof tarping and leaving the higher slope to a crew.
Mistakes that turn a temporary roof repair into a bigger claim
We take down a lot of tarps before starting repairs, and the same errors show up on most of them. Nails through the middle of the sheet, where each one becomes a drip point. A tarp that stops below the ridge, so wind lifts the top edge and drives rain under it. A bottom edge that runs past the eave and funnels water behind the fascia. Fasteners driven straight through shingles that were still fine, adding a repair to the scope.
The other common mistake is chemical. Spray foam, silicone and asphalt cement smeared under a tarp to hold it down bond to the shingles and have to be cut out, which means more shingles replaced and, on a partial repair, more difficulty matching. Keep sealant to the fastener heads on the anchor boards and nowhere else.
On metal roofs, do not screw boards through the panels at all; the holes leak permanently. Tarps on metal are clamped at the ridge or the eave with purpose-made brackets, which is a job for a crew. Our guide to wind damage and lifted shingles in Chinook country explains why edge and ridge damage is so common here and how a proper repair addresses it.
What your insurer expects: the duty to mitigate
Most Alberta home policies require you to take reasonable steps to prevent further damage after a loss. In practice that means stopping active water entry with a tarp or a professional temporary repair, and it is a normal, expected part of a claim rather than something that jeopardises it. What insurers do not want is a homeowner leaving a hole open for three weeks while waiting for an adjuster.
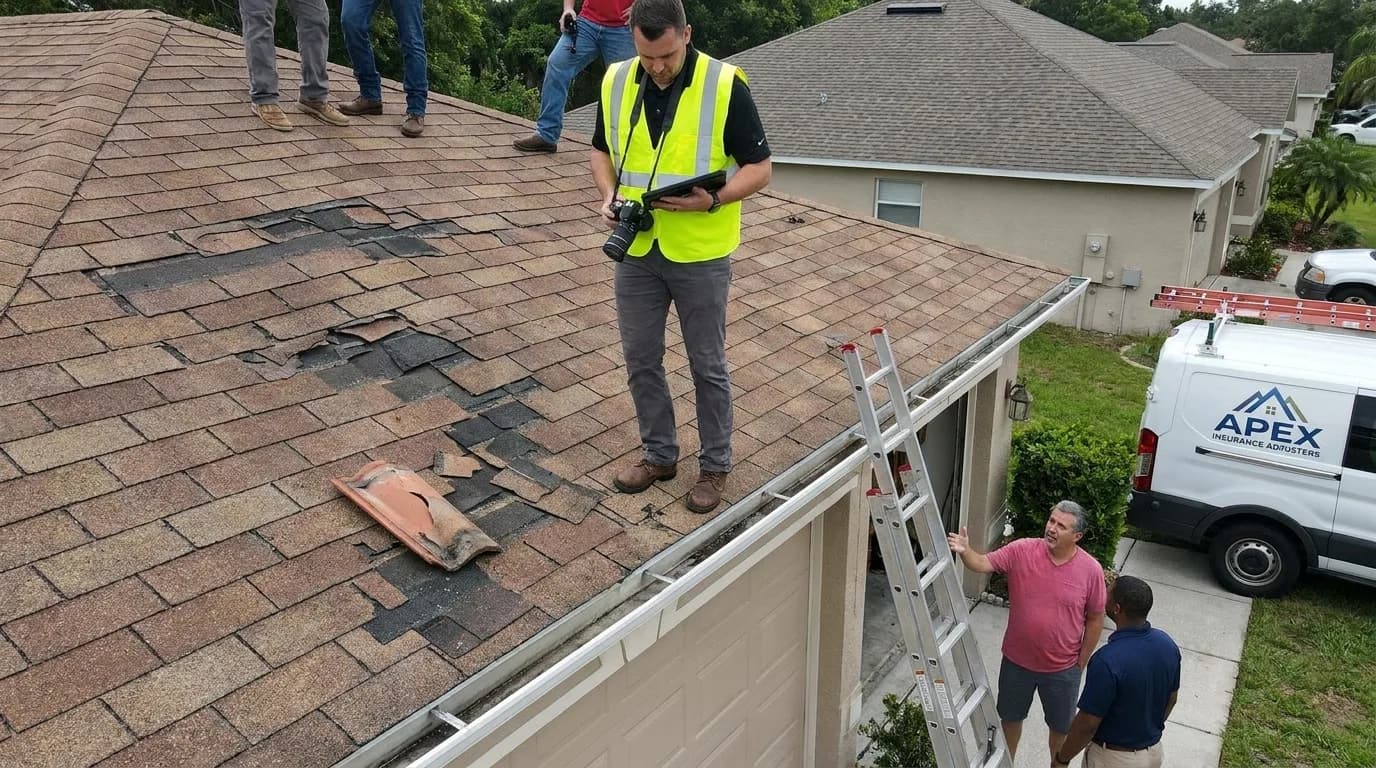
Do three things every time. Photograph and video the damage, inside and out, before you cover it, with a wide shot that shows where on the roof the damage sits. Keep every receipt for the tarp, boards, fasteners and any professional tarping, because reasonable mitigation costs are generally reimbursable under the claim. And tell your insurer or broker promptly, even if you cannot describe the full extent yet; many insurers require hail claims within 12 months, but early notice is always easier.
A tarp is not a substitute for a claim or for an inspection. It is the bridge to both. Our pillar guide to hail damage roof insurance claims in Alberta covers the claim from first call to final payment, including ACV versus RCV and recoverable depreciation, and none of that is legal advice, so confirm specifics with your insurer.
How long a roof tarp lasts in Alberta wind and UV
A well-anchored, heavy-gauge tarp is good for a few weeks to a couple of months on an Airdrie roof. A thin blue tarp, or any tarp with loose edges, can be in ribbons after a single Chinook night. High-altitude prairie sun is the other enemy; polyethylene goes chalky and brittle after two or three months of summer UV, and by then the grommets tear out at the first gust.
| Tarp type | Anchoring | Typical useful life on an Airdrie roof |
|---|---|---|
| Light blue poly (5–6 mil) | Loose weights or a few nails | Hours to a few days |
| Light blue poly (5–6 mil) | Boarded edges, over the ridge | 1–3 weeks |
| Heavy poly (10–16 mil, UV-rated) | Boarded edges, over the ridge | 4–8 weeks, longer in winter |
| Professional shrink-wrap or reinforced tarp | Clamped or boarded by a crew | 2–4 months |
Check it after every windy day from the ground: a flapping corner, a wrinkle that has become a puddle, or a board that has shifted are all signs it needs attention. Treat the tarp as a countdown to a permanent fix, not as a season's roofing. Snow load adds weight and holds meltwater against the tarp, so a roof tarp going into winter should be inspected by a roofer and, if the repair has to wait for spring, replaced with a properly installed temporary membrane.
Roof tarping cost: doing it yourself versus hiring a crew
The materials for a DIY tarp on a typical repair area run roughly $80 to $250 as of 2026: $40 to $150 for a heavy tarp, $30 to $60 for boards, and a box of screws. Professional roof tarping cost in the Airdrie and Calgary area generally lands between $300 and $900 for a standard job, and $1,000 or more for a large or steep roof, a two-storey walkout, or a night call in the middle of a storm cycle. Those are rough market guides, not quotes.
| Option | Rough 2026 cost (guide) | What you get |
|---|---|---|
| DIY, light tarp | $30–$80 | Days of cover at best; high failure rate |
| DIY, heavy tarp with boards | $80–$250 | Weeks of cover if anchored correctly; your own fall risk |
| Professional tarping, standard roof | $300–$900 | Crew with harnesses, correct anchoring, photos for the claim |
| Professional tarping, large or steep, after-hours | $900–$1,500+ | Same, on a roof you should not be on |
Professional tarping usually credits toward the permanent repair when the same company does both, and the cost is generally a reimbursable mitigation expense under a hail or wind claim, subject to your policy. That is why, for most homeowners with a two-storey roof, the sensible number to compare is not $150 against $500; it is $500 against a fall, plus a tarp that actually holds through the next Chinook.
Next steps: inspection, claim and permanent repair
Once the roof tarp has stopped the water, the sequence is straightforward. Book a roof inspection so the full extent of hail or wind damage is documented, not just the hole you could see from the lawn; hail rarely damages a single spot. Open the claim with your insurer and share the photos and the inspection report. Then get the permanent repair or replacement scheduled, because a tarp that has been up for two months is usually leaking somewhere.
Our hail damage roof repair service in Airdrie handles the inspection and the repair, the same crews cover roof repair in Calgary, and our roof insurance claim support provides the itemised documentation adjusters ask for. If you were in the path of one of this summer's storms, the guide to what to do after an Airdrie hail storm lays out the first 48 hours in order.
If you are reading this with water coming through the ceiling, Apex Roofing Airdrie offers emergency tarping for active leaks and free on-site estimates for the repair that follows, with a written quote and no obligation. The tarp gets you through the week; the inspection and repair are what put the storm behind you.
Written by the Apex Roofing Airdrie crew
Practical guidance from the local roofers who inspect, repair and replace roofs across Airdrie and Rocky View County every season. We review our guides against current Alberta practice and update them when materials, code or insurer behaviour changes. About our team.